
With this free tool, you can generate 10 Amazing DIY Necklace Ideas with simple tools and materials.
Table of Contents
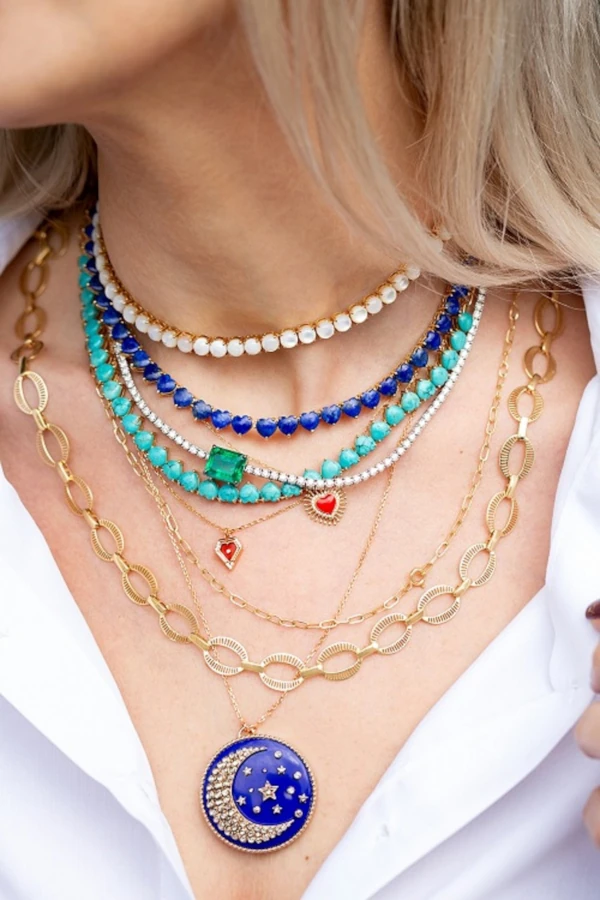
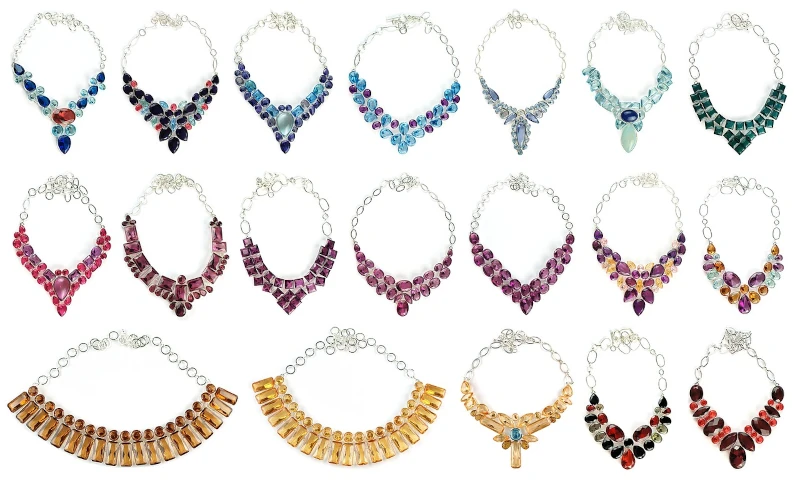
DIY Necklace Ideas
Tools and Materials:
Steps:
Please read our article about necklaces for women.
Here’s a list of standard tools and materials needed for making DIY necklaces:
Check out the 11 tools every jewelry maker needs here.
Tools:
- Pliers (round-nose, chain-nose, and flat-nose)
- Wire cutters
- Scissors
- Craft knife or utility knife
- Needle-nose pliers
- Jewelry glue or adhesive
- Ruler or measuring tape
- Beading mat or tray
- Jewelry findings (jump rings, clasps, crimp beads, etc.)
- Wire looping or wrapping tools (mandrels, jigs, or bail-making pliers)
Materials:
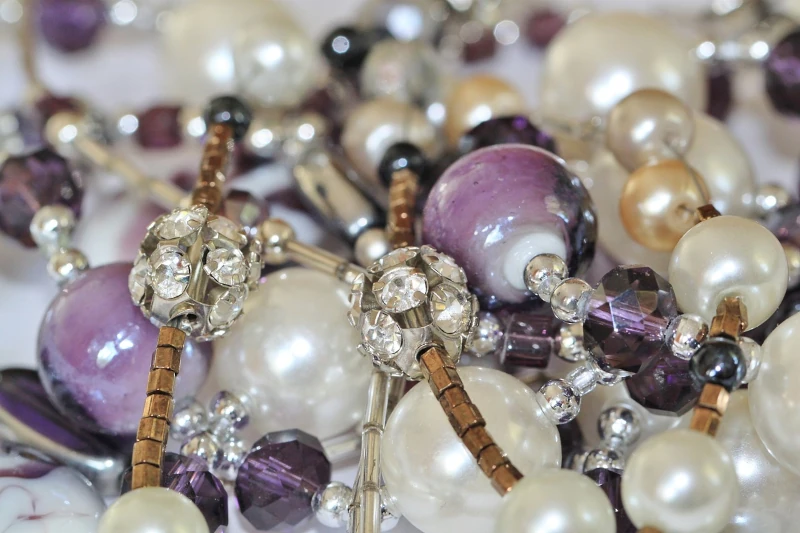
- Beads (assorted sizes, shapes, and colors)
- Chain or cord (leather, suede, cotton, or nylon)
- Charms or pendants
- Seed beads or spacer beads
- Jewelry wire (craft wire, beading wire, or memory wire)
- Clasps and closures
- Metal findings (headpins, eye pins, crimp beads, etc.)
- Pendant trays or bezels (for setting stones or cabochons)
- Ribbons or fabric strips (for fabric necklaces)
- Decorative elements (rhinestones, sequins, feathers, etc.)
Check this simple guide for making your necklace.
Frequently Asked Questions
Are these necklace ideas suitable for beginners?
The materials needed for these DIY necklaces can be found in craft stores, online marketplaces, or even repurposed from items you already have at home. Beads, cords, chains, and decorative elements can be readily available in craft supply stores.
Can I personalize the designs or use different materials?
Absolutely! These necklace ideas serve as a starting point for your creativity. Feel free to personalize the designs by adding your unique touches or substituting materials with ones that suit your style and preferences.
How long does it take to complete these DIY necklaces?
The time required for each DIY necklace varies depending on the complexity of the design and your skill level. Some chains can be completed in a few hours, while others may take longer. Take your time, enjoy the process, and create at your own pace.
Can I sell the necklaces I make using these ideas?
Yes, you can sell the necklaces you make using these ideas. However, some designs may be subject to copyright or trademark restrictions. It’s essential to create your unique variations and respect intellectual property rights.
How do I choose suitable beads for my necklace?
Consider the style: Decide if you want a casual, elegant, or statement piece.
Size and weight: Ensure the beads are not too heavy for comfortable wear.
Material: Choose based on preference, budget, and skin sensitivity (e.g., glass beads for elegance, plastic for affordability, gemstones for luxury).
Color and design: Match with your wardrobe or follow a color scheme.What types of stringing materials can I use?
Beading wire: Durable and suitable for heavy or sharp-edged beads.
Nylon cord: Flexible and robust, suitable for most bead types.
Silk thread: Traditional and luxurious, best for pearls and lightweight beads.
Elastic cord: Ideal for stretchable, clasp-free designs.How do I start stringing my beads?
Plan your design: Lay your beads on a bead board or mat in the desired pattern.
Prepare the stringing material: Cut a slightly longer than your intended necklace size.
Attach one end: Use a crimp bead to secure one end to a clasp or jump ring.
String the beads: Follow your pattern, making adjustments as needed.
Finish the other end: Secure with a crimp bead and attach the other part of the clasp.How do I use crimp beads?
String the crimp bead onto the wire.
Loop the wire through the clasp or ring.
Thread the wire back through the crimp bead.
Slide the crimp bead close to the clasp and flatten it with crimping pliers.What are some standard necklace lengths?
Choker: 14-16 inches
Princess: 17-19 inches
Matinee: 20-24 inches
Opera: 28-36 inches
Rope: 37 inches or longerHow can I ensure my necklace is durable?
Use strong stringing material appropriate for the bead weight.
Secure crimp beads properly.
Avoid excessive tension while stringing to prevent breakage.
Store your necklace properly to avoid tangling and damage.What are some beginner-friendly designs?
Simple beaded strand: Basic stringing with a variety of beads.
Patterned beaded necklace: Alternate bead sizes or colors in a repeating pattern.
Pendant necklace: Single focal bead or pendant on a simple string.Can I repair a broken necklace myself?
You can usually rest the beads and replace any damaged findings (like clasps or crimps). Keep extra supplies on hand for such repairs.
Are there any safety tips I should follow?
Use child-safe materials if making necklaces for children.
Be cautious with tools to avoid injury.
Work in a well-lit, clutter-free area to keep track of small components.Can I make adjustable-length necklaces?
Yes, use an adjustable clasp mechanism or an extender chain to allow length adjustments.

Pashalis Laoutaris
I am a professional writer, fashion blogger, and owner of the site https://laoutaris.com. I have more than 20 years of experience as a salesperson in the fashion industry and 10 years of experience as a fashionista. I consider myself a true fashionista. I write daily blog articles about fashion, tools and converters, and everything you need to know about current fashion trends.
Share this article
Our Latest Articles
Laoutaris Recommends